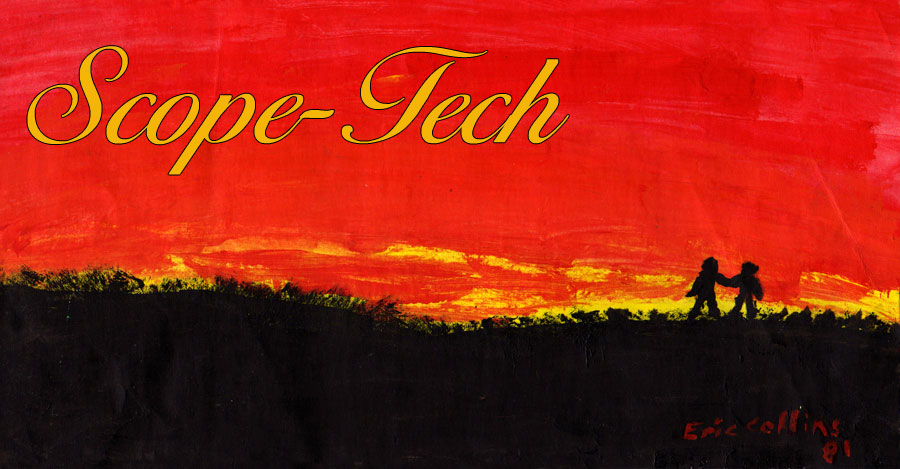
A little while ago, I put up the post Take Two. Or Is It Take Three? In it, I had this picture:
A couple of people asked me how I did it, so I figured since the title here is "Scope-Tech" I might oblige with the "TECH" part of it.
Please note: I'm sure there are other ways to do this, but these are the tools and tricks I used. You probably don't have the same set of tools, but the ones you use may allow for similar techniques.
The Animated GIF
What you see up there is a series of 4 sequential pictures flipping by in sequence and looped. They are stored as an "animated GIF" file. My photo editing tool of choice is Photoshop Elements 7.
- Within Elements, open the file that will serve as the first frame in your animation.
- Perform a Layer > New > Layer via Copy from tool bar.
- In the "Layer Pallet" on the lower right, highlight the bottom layer name "Background" with the lock symbol, right click it and "Delete Layer". (The locked background layers are always a pain in the ass.)
- Open the next picture in Photoshop.
- In picture 2, perform a <Ctrl+A> to select all the picture and then a <Ctrl+C> to copy the picture to the clipboard.
- Switch back to the original picture.
- Perform a Layer > New > Layer from tool bar to create a blank layer.
- Perform a <Ctrl+V> to paste picture 2 into the blank layer.
- Repeat steps 4 thru 8 adding new layers until you have added all the layers.
- Next, resize the picture down to a reasonable size: Image > Resize > Image Size
(I prefer max length of 6X4 or 6X4.5 with a resolution of 150 pixels per inch) - Perform a File > Save for Web
- Change the file type to GIF, change the colors to 256, check the Animate & Loop boxes, and pick a Frame Rate (how quickly you rotate thru the layers) and click the Preview In button.
- Adjust the Frame Rate until satisfied.
- Then click OK and save it.
Save the GIF Online
This is the real trick to the maneuver. When I first used the picture, I skipped this step, and when I saved the post, the picture was converted to a static JPG file. And that pissed me off, after all the work I'd gone to to animate it. Now, if you compose in Blogger, you may not have the same issue, I don't know. Haven't used the Blogger editor in about 400 posts, so I don't know.
- I have a Flickr account, and I loaded the picture there.
- Within Flickr, I went to the picture I loaded, clicked the Share button, then picked Original from the dropdown (since that's the animated GIF, the others are JPGs), and then Grab the HTML/BBCode and copy the HTML code.
Load the Picture To The Post
I use Windows Live Writer to compose my posts offline, and then load them up to blogger when I'm done. But, the same can be done in Blogger.
- Go to the Source tab
- Paste the HTML code you copied that contains a link to the picture you just uploaded.
- Return back to the Edit tab and resize the picture to the size you want by clicking on the picture and dragging one of the corners to resize it.
And there you go. I don't know if this will help anyone or not, but I haven't posted much recently, so I thought I'd give this a go.
If you try it and it works for you, let me know.
4 comments:
*mind spinning*
I should try this one day with my cartoons. But when I do I am SOOOOOOOO going to have you walk me through it in person!
OK, you lost me at "GIF"! lol
Is that sort of like one of those flip books with just a little tweak different on each page?
I have something similar to this but it would be TMI...and then my guy would have to kill you. ; )
Post a Comment